Installing Custom Acoustic Panels in Home Theaters
Installing custom acoustic panels in your home theater transforms your audio experience by minimizing sound reflections and enhancing clarity. Focus on thickness, density, and materials to absorb sound and block external noise effectively. Strategically place panels at ear level on side walls, between speakers, and seating areas with additional treatments for overall immersion. Consider secure installation methods and regular maintenance for longevity. Discover more to optimize your home theater with precise panel placement and aesthetic options.
Key Takeaways
- Choose panels with appropriate thickness and material for optimal sound absorption and aesthetics.
- Identify and mark primary reflection points on walls and ceilings for effective placement.
- Use secure installation methods like carabineers and eye bolts for safety.
- Position panels at ear level on side walls for enhanced sound quality.
- Regularly dust and vacuum panels to maintain their acoustic efficiency.
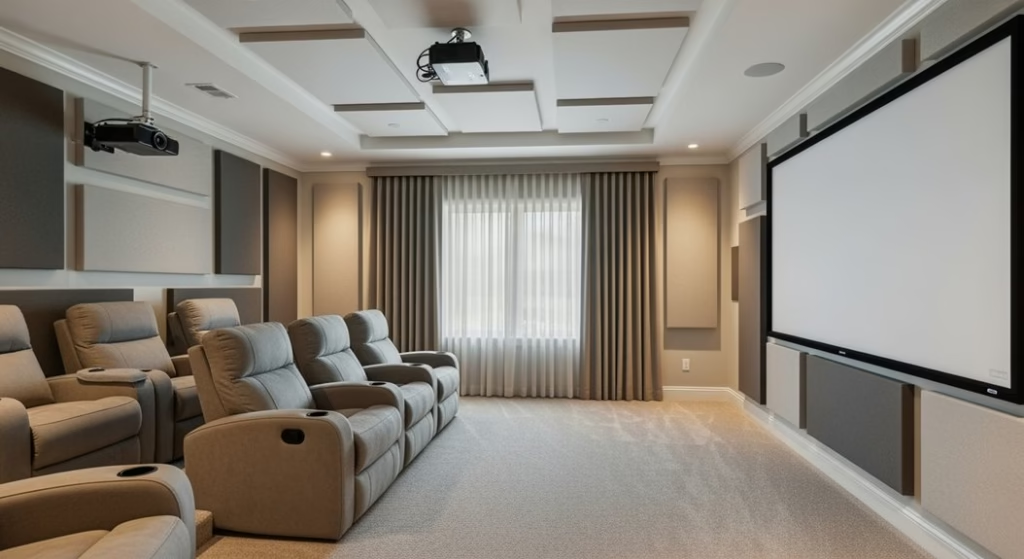
Understanding Acoustic Panels for Home Theaters
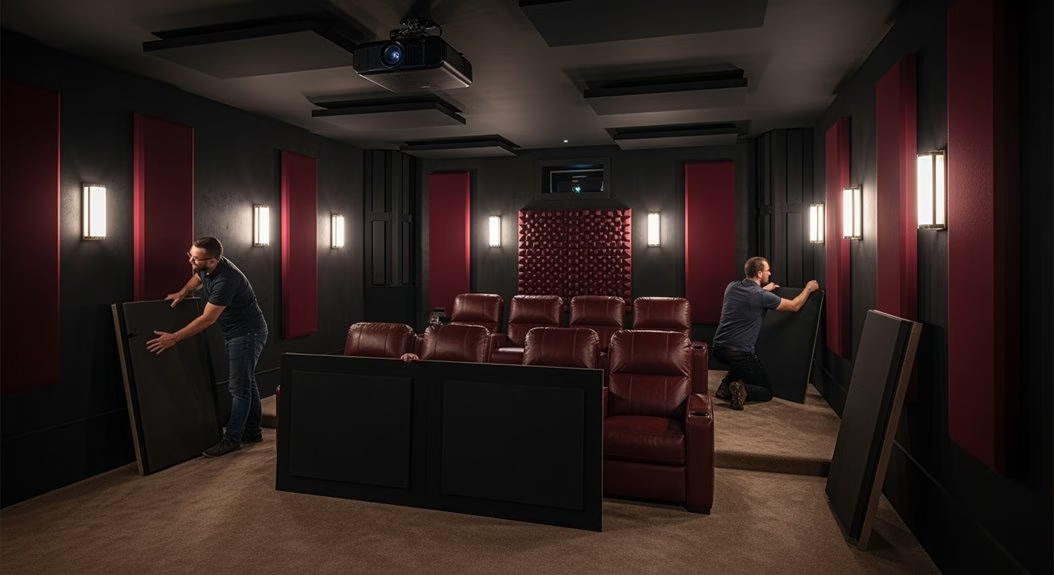
Acoustic panels are essential for any home theater enthusiast wanting to perfect their sound environment. They absorb sound waves, converting sound energy into heat to minimize echoes and reflections, particularly at mid and high frequencies. By doing so, these panels notably enhance the sound quality in your home theater.
Acoustic panels are key to refining your home theater sound by minimizing echoes and enhancing audio quality.
You’ll notice clearer dialogue, crisper music, and more distinct sound effects, all contributing to a more immersive experience.
The effectiveness of acoustic panels depends on factors like thickness, density, and materials used. Thicker, denser panels provide better absorption across a wider frequency range.
Additionally, they help block external noise and prevent sound leakage, ensuring a focused listening environment. You can choose from foam, fabric-wrapped, and perforated wood panels, balancing aesthetics with ideal sound performance.
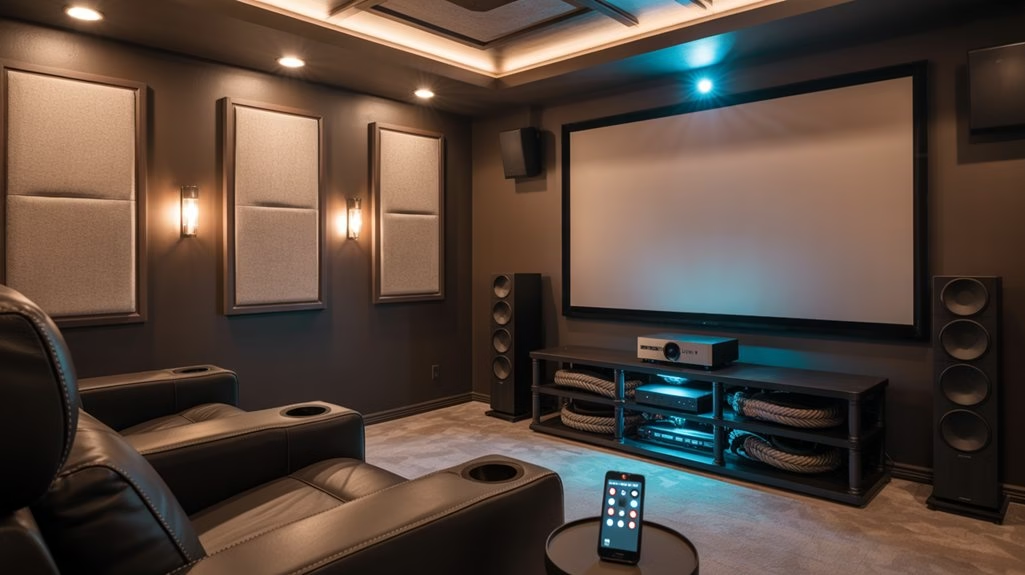
Benefits of Acoustic Panels in Home Theater Settings
When you install acoustic panels in your home theater, you’ll immediately notice a marked improvement in sound quality. These panels absorb sound waves, reducing reflections and minimizing audio distortion. You’ll find that dialogue and sound effects become clearer, greatly enhancing your viewing experience.
By targeting mid and high frequencies, acoustic panels effectively reduce echoes, creating a controlled and immersive listening environment.
Moreover, you’ll experience a more spacious and realistic soundstage, which improves sound localization—crucial for an engaging movie night. Acoustic panels also help block external noise and prevent sound leakage, ensuring your theater remains distraction-free.
Besides their functional benefits, they offer various aesthetic options, allowing you to enhance your home theater’s decor while optimizing sound performance.
Types of Acoustic Panels and Their Features
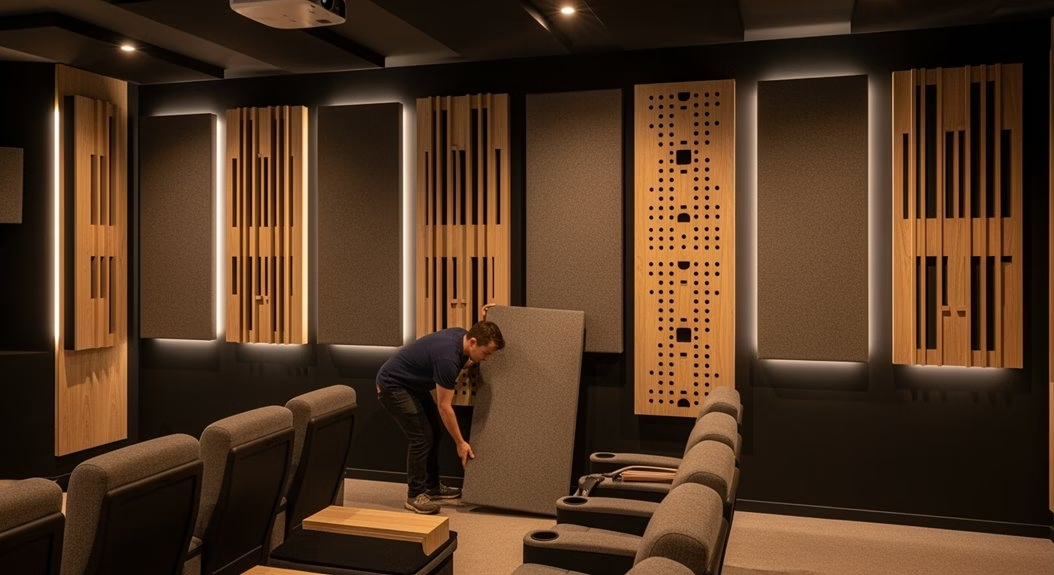
You’ll find a variety of acoustic panels available to enhance your home theater experience, each with unique features tailored for ideal sound absorption.
Foam panels, crafted from specialized acoustic foam, come in various shapes like pyramid or wedge. Their thickness and density determine how effectively they absorb sound waves.
Fabric-wrapped panels offer not only great sound absorption but also customizable aesthetics, letting you choose colors and textures that suit your decor.
Consider these types:
- Foam panels: Effective in sound absorption due to shape and density.
- Fabric-wrapped panels: Combine functionality with customizable design.
- Perforated wood panels: Visually appealing with engineered perforations for sound control.
- Panel effectiveness: Determined by thickness, density, and material composition.
These options guarantee both acoustic efficiency and visual appeal in your home theater.
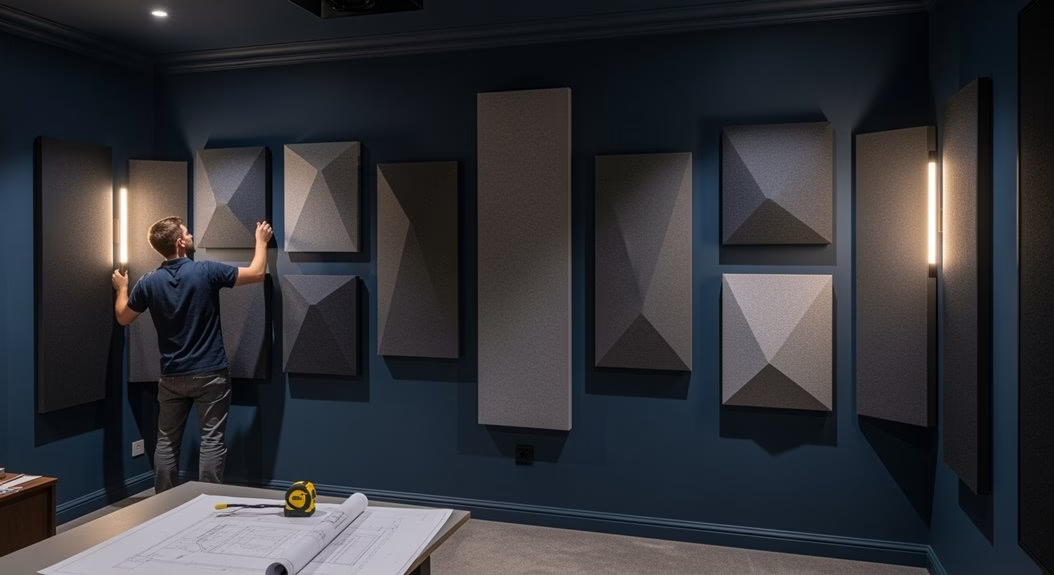
Placement Strategies for Acoustic Panels
Choosing the right acoustic panels is only half the battle; their placement is where you can truly enhance your home theater’s sound quality.
Start by identifying primary reflection points on the side walls, front wall, and ceiling to effectively reduce echoes. For ideal sound absorption, mount panels at ear level on side walls and position them strategically between speakers and the seating area. This minimizes audio distortion and enhances clarity.
Treat the rear wall with additional panels for a more immersive experience. Don’t forget to incorporate bass traps in corners to manage low-frequency sound waves, vital for addressing bass buildup.
Distribute panels evenly, focusing on problem areas while considering room size and shape for effective sound control.
Calculating Acoustic Panel Requirements
Before diving into installation, it’s vital to determine the number of acoustic panels you’ll need for effective sound treatment.
Begin by measuring the total surface area of your home theater’s walls and ceiling, focusing on spots with sound reflection issues. Identifying primary reflection points is essential for effective acoustic treatments.
Here’s a quick guide to help you:
- Calculate 15-25% coverage of wall surface for ideal sound absorption.
- Identify first reflection points on side walls, front wall, and ceiling.
- Use thicker panels (2-4 inches) to better control low frequencies in problematic areas.
- Consult an acoustic professional for personalized recommendations.
This approach guarantees that your acoustic treatments will greatly improve sound quality, creating an immersive theater experience.
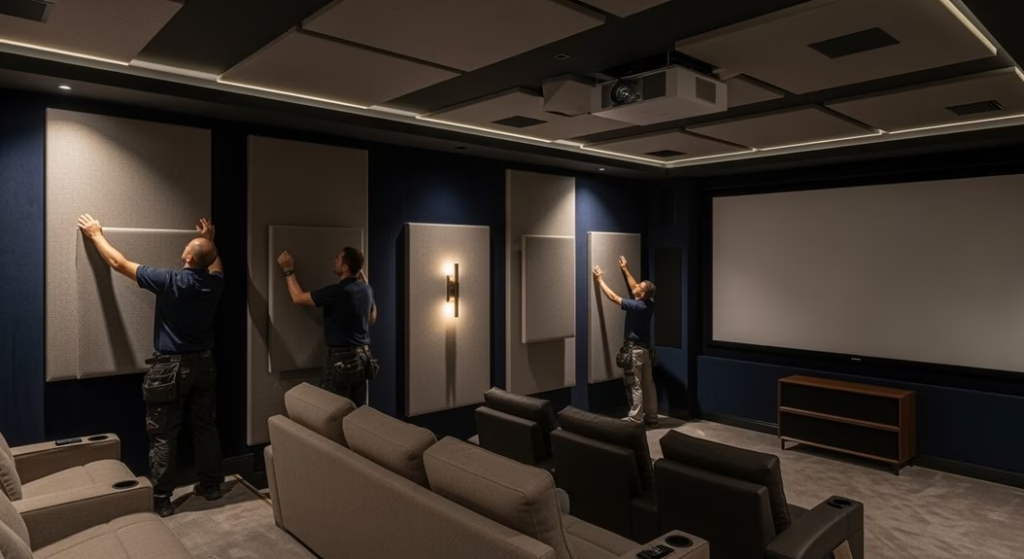
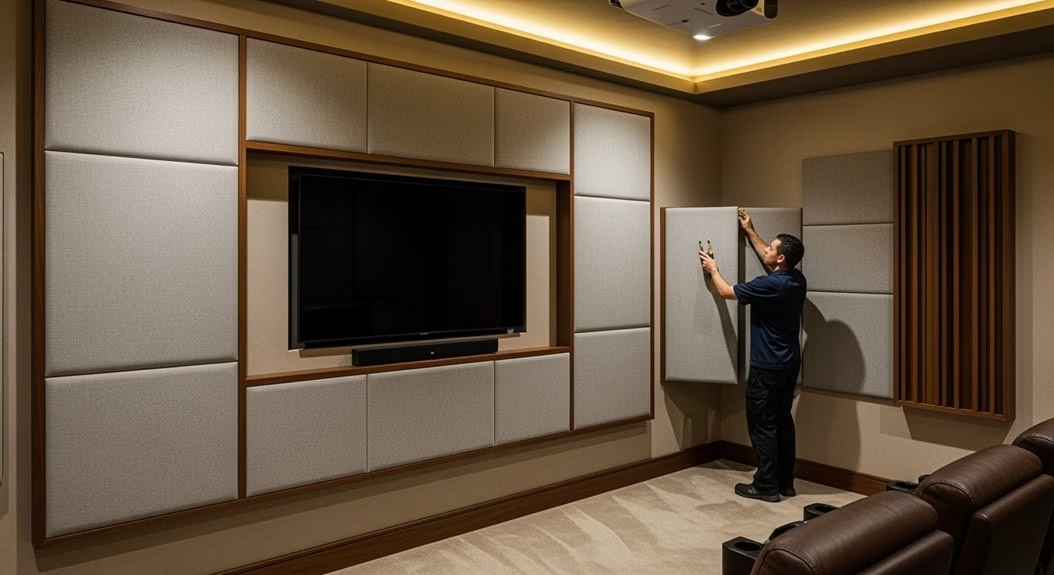
Installation Methods for Acoustic Panels
When installing acoustic panels, start by selecting the right method to guarantee both effectiveness and safety.
Explore various installation methods for acoustic panels to find what suits your space best. Use carabineers and eye bolts for a secure and adjustable mount, accommodating different weights easily.
For ceiling installations, toggle bolts with eye hooks and zip ties offer essential stability, especially for heavier panels. Consider 3M Dual Lock adhesive for a strong bond, ensuring you allow adequate curing time before securing.
Precision is key, so mark placements with painter’s tape and a laser level to achieve perfect alignment and spacing, optimizing your acoustic treatment.
Always prioritize safety—get help with heavy panels and use stable ladders for high placements.
Maintaining Acoustic Panels for Longevity
To keep your acoustic panels in top condition and extend their lifespan, regular maintenance is crucial. By maintaining acoustic panels properly, you guarantee the quality in your space and effectively reduce unwanted reflections.
Here’s how to keep them in great shape:
- Dust regularly with a soft, dry cloth. This prevents dust buildup, maintaining their appearance and effectiveness.
- Vacuum using an upholstery attachment to gently remove dirt and debris without harming the panels.
- Use compressed air for deeper cleaning, especially for those hard-to-reach areas, keeping your panels dry and free from dust.
- Spot clean fabric-wrapped panels carefully with minimal moisture; dry immediately to prevent water damage or mold.
Check product specifications for tailored maintenance tips to guarantee longevity and performance.
Frequently Asked Questions
How to Place Acoustic Panels in a Home Theater?
To optimize acoustic panel placement, identify primary reflection points on your walls and ceiling.
Use sound absorption techniques by mounting panels at ear level on side walls and between speakers and seating.
Treat the rear wall to enhance dialogue clarity and minimize sound muddiness.
Install ceiling panels to reduce reflections and standing waves.
Don’t forget bass traps in corners to balance low frequencies, enhancing your home theater acoustics considerably.
Are Acoustic Panels Worth It in Home Theater?
Imagine your home theater transformed like a concert hall. Are acoustic panels worth it? Absolutely! They enhance sound quality by reducing echo and improving clarity, ensuring dialogue and music are crystal clear.
You’ll appreciate the improved immersion and sound localization. Plus, they block external noise, making your space more focused.
With their aesthetic versatility, acoustic panels not only boost performance but also seamlessly integrate into your home theater’s decor.
Where to Put Acoustic Panels in a Home Studio?
When you’re figuring out panel placement strategies in your home studio, focus on primary reflection points at ear level and opposite sound sources.
A common mistake is neglecting the ceiling; adding panels above the listening area can optimize sound quality.
Choose acoustic panel materials that suit your space’s needs, like fabric-wrapped fiberglass.
Add panels on the front, rear walls, and corners for bass traps to prevent muddiness and enhance clarity.
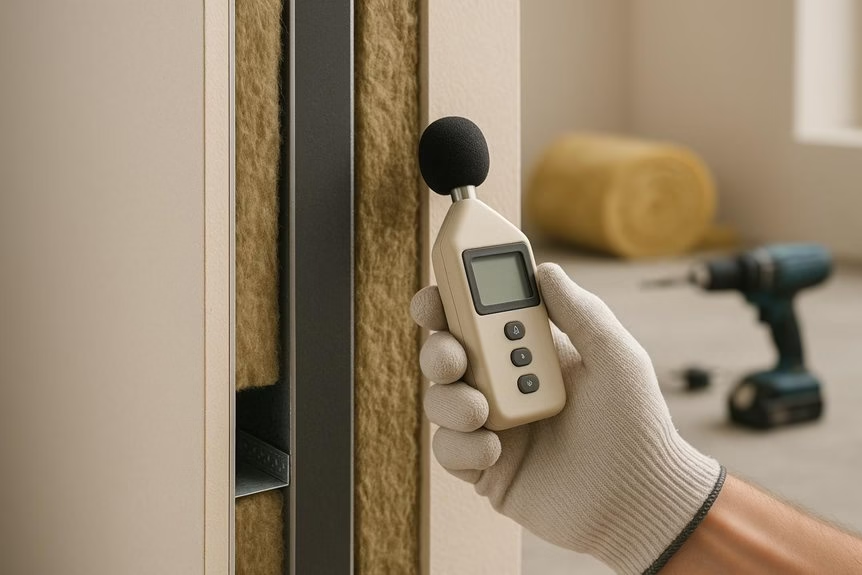
How Do You Soundproof a Home Theater Room?
When soundproofing a home theater room, hit the nail on the head by choosing the right soundproofing techniques.
Start with soundproofing materials like acoustic panels to absorb sound waves and reduce noise. Pay attention to room design by sealing gaps with weatherstripping and installing heavy curtains.
Double-layered drywall with soundproofing glue is essential for walls. Bass traps in corners help with low frequencies, ensuring your theater sounds crisp and immersive.
Conclusion
Imagine your home theater as a symphony orchestra. Without acoustic panels, it’s like playing in a room full of echoes, where sound bounces around chaotically. By installing custom panels, you’re giving each note its perfect place, just as a conductor guarantees harmony. Studies show that well-placed panels can reduce unwanted noise by up to 50%, allowing you to fully immerse yourself in the movie experience. So, embrace this upgrade, and let your home theater sing.