Acoustic caulk is one of the most overlooked steps in professional soundproofing, yet even small air leaks can compromise an otherwise well-built assembly. At Total Home Interiors, we use acoustic sealant to close critical gaps at the drywall-to-floor seam, inside corners, and along the wall-to-ceiling perimeter—areas where sound commonly escapes. We also seal around electrical boxes, outlet edges, and cable penetrations, since these weak points often reduce overall performance. For larger gaps, backer rod is used first to maintain a flexible, airtight seal that lasts. When combined with proven soundproofing methods like decoupling, added mass, and acoustic drywall, this simple detail helps deliver the quieter, more private spaces Tri-State homeowners and businesses are looking for.
Key Takeaways
- Acoustic caulk seals the small air gaps that let sound slip around drywall, which is why professional soundproofing projects treat it as a critical detail rather than an optional DIY shortcut.
- For effective wall sound isolation, seal the full perimeter first—especially where drywall meets the floor, ceiling, and inside corners—because those edges are common weak points for noise transfer.
- In wider or deeper joints, a backer rod should be installed before acoustic caulk to create a durable, flexible seal that performs better over time.
- Outlets, electrical boxes, and cable penetrations should never be overlooked, since even minor openings in these areas can noticeably reduce the overall performance of a soundproofed wall.
- Acoustic caulk delivers the best results when it is part of a complete soundproofing system that may include decoupling, dense insulation, and added mass—the kind of integrated approach Total Home Interiors designs for homes and commercial spaces across West Orange, NJ, and the Tri-State area.
Where to Use Acoustic Caulk First
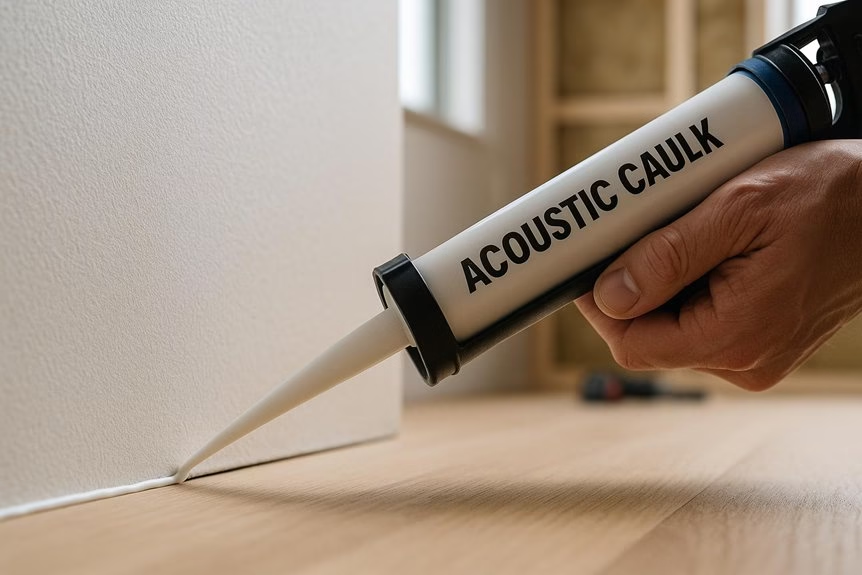
Start by sealing the bottom perimeter seam where the drywall meets the concrete slab or subfloor. In professional soundproofing work, this joint is one of the most common hidden air leakage points, and even small gaps can allow more noise transfer than most homeowners expect.
Seal the drywall-to-floor seam first, since even minor gaps at this hidden joint can leak more sound than expected.
Once the drywall layers are installed, apply a continuous bead of acoustic sealant to create an airtight connection at the base of the wall. In retrofit projects built over an existing floor, this drywall-to-floor transition should still be treated as a priority detail.
Next, address all vertical wall corner joints where drywall sheets meet. Hairline openings in these areas can become significant sound leakage paths, reducing the performance of an otherwise well-built assembly.
At the top of the wall, seal the wall-to-ceiling perimeter with the same continuous approach to maintain the room’s air barrier. In assemblies using hat channel or other decoupling methods, a controlled gap with backer rod and acoustic caulk can further improve airtightness without compromising the system. This kind of airtight detailing helps support higher STC ratings by limiting airborne sound leaks through the assembly.
Finish by sealing around electrical boxes, junction boxes, and any cable or conduit penetrations, since these small openings are frequent weak points in both residential and commercial soundproofing projects.
For homeowners and businesses in West Orange, Hoboken, Jersey City, and the greater NYC area, details like these are what separate basic construction from true acoustic performance. Total Home Interiors designs and installs custom soundproofing systems that prioritize long-term results, cleaner finishes, and professional-grade noise control.
How to Seal Floors, Corners, and Ceilings
Because sound leaks at the perimeter before it ever pushes through the wall assembly, floor, corner, and ceiling joints should be treated as continuous air seals, not finished like simple cosmetic seams.
At the wall-to-floor transition, apply acoustic sealant where the double drywall assembly meets the concrete slab to reduce flanking noise paths.
For stronger perimeter performance, leave a 1/8- to 1/16-inch gap beneath the drywall, install backer rod, and seal the joint with acoustic caulk.
At inside corners, seal the entire vertical corner line in both directions rather than only addressing visible openings.
Where hat channel is part of the assembly, maintain that same 1/8- to 1/16-inch gap between drywall edges, then use backer rod and acoustic sealant to help limit vibration transfer.
The same approach should be used at the wall-to-ceiling perimeter.
This kind of airtight detailing works best when paired with resilient channels and other decoupling methods that reduce airborne and impact noise.
Every small interface gap matters.
In professional soundproofing projects, airtight perimeter detailing is one of the most effective ways to improve performance and prevent avoidable sound leakage.
How to Seal Outlets, Boxes, and Cable Gaps
Why do so many soundproofing projects still leak at the smallest penetrations? Because outlets, electrical boxes, and cable pass-throughs are often treated as minor details when they’re actually common failure points.
For stronger outlet airtightness, seal around outlet faceplates and cable penetrations with acoustic caulk so small gaps don’t compromise the performance of the wall assembly.
Once boxes and wiring are installed, inspect the perimeter where each electrical box meets the drywall. Any gap at that junction should be professionally sealed, even if putty pads have already been used behind the box.
In high-performance soundproofing, these finishing details matter: tiny openings can allow sound and air to pass, reducing the effectiveness of an otherwise well-built noise-control system.
As with treating primary reflections and other acoustic weak points, sealing small penetrations helps support a more controlled and effective noise-reduction strategy.
For homeowners in West Orange, Hoboken, Jersey City, and across the Tri-State area dealing with neighbor noise, street noise, or privacy concerns, careful sealing is one part of a comprehensive soundproofing strategy.
Total Home Interiors designs complete solutions that address weak points throughout the room, helping deliver quieter, more comfortable interiors without relying on guesswork.
When Acoustic Caulk Needs Backer Rod
Although acoustic caulk is effective for sealing small perimeter gaps, it shouldn’t be used to fill deep voids on its own. In soundproofing assemblies, intentional gaps at drywall transitions, wall-to-floor connections, corners, and wall-to-ceiling joints often require backer rod first.
Backer rod controls the depth of the sealant bead so the acoustic caulk can cure correctly, remain flexible, and maintain a reliable air seal instead of sinking into the cavity.
This is especially important where drywall meets concrete or a directly connected subfloor, since these junctions can become weak points for noise transfer if they aren’t detailed properly.
In these conditions, the correct sequence is simple: leave the gap, install the backer rod, then apply a continuous bead of acoustic caulk over it. This kind of airtight detailing supports sound isolation by helping prevent the leaks that weaken high-mass assemblies like double drywall with damping layers.
The same approach is used in corners and in hat-channel soundproofing assemblies where precision matters.
For homeowners and commercial clients dealing with street noise, neighbor noise, or speech privacy concerns, these small construction details have a major impact on overall performance.
At Total Home Interiors, we design and install complete soundproofing systems that account for every transition point, helping clients across West Orange, NJ, Jersey City, Hoboken, NYC, and the Tri-State area achieve quieter, more comfortable spaces.
How Acoustic Caulk Improves Soundproofing
Once deeper gaps are properly filled with backer rod, acoustic caulk helps improve soundproofing by sealing the small air leaks that allow noise to pass around the main wall or ceiling assembly.
Applied at drywall joints, inside corners, wall-to-floor transitions, and ceiling perimeters, it helps reduce the flanking paths that can undermine otherwise well-built soundproofing systems.
In decoupled wall or ceiling assemblies, a small perimeter gap is typically maintained and then sealed with the appropriate acoustical sealant to preserve separation while limiting direct vibration transfer.
Even when resilient elements such as hat channel are used, perimeter sealing remains an important part of the overall system.
Openings around outlets, electrical boxes, and other penetrations should also be addressed, as these weak points can compromise acoustic performance if left untreated.
For best results, acoustic sealant should be paired with Mass Loaded Vinyl and dense insulation to help support higher overall sound isolation.
Because effective soundproofing depends on how all components work together, acoustic sealants are most successful when incorporated into a professionally designed assembly rather than treated as a standalone fix.
Total Home Interiors designs and installs complete soundproofing solutions throughout West Orange, NJ and the Tri-State area, helping homeowners and commercial clients achieve better privacy, comfort, and noise control with construction methods tailored to the space.
Frequently Asked Questions
Can Acoustic Caulk Be Painted After It Cures?
Yes, acoustic caulk can usually be painted after it fully cures, but paint compatibility depends on the specific product. Most acoustic sealants work best with latex paint, while some may not accept oil-based coatings.
Always follow the manufacturer’s cure times, since painting too early can lead to cracking, poor adhesion, or an uneven finish.
For the best result—especially in soundproofing projects where performance matters as much as appearance—it’s smart to test a small area first.
If you’re planning a larger noise-control upgrade, professional installation helps ensure every detail supports both the finish and the acoustic performance.
How Long Does Acoustic Caulk Typically Take to Dry?
Acoustic caulk typically skins over and feels dry within 24 to 48 hours, but full cure usually takes 7 to 14 days depending on temperature, humidity, and bead thickness.
For the best soundproofing performance, it’s important not to paint, compress, or stress the joint too soon, since premature finishing can reduce the effectiveness of the seal.
At Total Home Interiors, we recommend checking the manufacturer’s guidelines and allowing proper cure time to help ensure long-term noise control results in residential and commercial spaces throughout West Orange, NJ and the Tri-State area.
Does Acoustic Caulk Stay Flexible Over Time?
Yes, acoustic caulk is designed to stay flexible over time, which is exactly why it’s used in professional soundproofing applications. Unlike standard caulk that can dry hard and crack, acoustic sealant remains pliable to accommodate normal building movement, temperature changes, and vibration without opening gaps that allow sound to leak through.
In residential and commercial noise-control projects, that long-term flexibility is essential for maintaining the integrity of a soundproofing system. For the best performance, product quality and proper installation both matter—especially around walls, ceilings, floors, and other critical sound-transmission points.
What Is the Difference Between Acoustic and Regular Caulk?
Acoustic caulk differs from regular caulk because it remains flexible over time, creates a more effective air seal, and helps limit sound transmission through gaps and joints. Regular caulk is typically used for moisture protection, crack sealing, and general weatherproofing, while acoustic caulk is designed specifically for sound control applications.
For homeowners and businesses dealing with street noise, neighbor noise, or lack of speech privacy, using the right sealant is an important part of a professional soundproofing strategy. Regular caulk may still be the better choice for exterior areas exposed to water, UV, and temperature swings, but it shouldn’t be expected to deliver the same acoustic performance as a true sound-rated product.
How Much Acoustic Caulk Does a Typical Room Require?
For a typical bedroom or home office, acoustic caulk needs can range from about 6 to 12 tubes, but the real number depends on the room’s perimeter, the number of penetrations, and the size of the gaps being sealed.
In professional soundproofing projects, every seam matters, including wall-to-ceiling joints, wall-to-floor transitions, window and door perimeters, electrical boxes, and other small openings that allow noise to leak through.
Most acoustic sealant tubes cover roughly 25 to 50 linear feet per tube, depending on bead size.
For the most accurate estimate, measure each seam carefully and add at least 10 percent for waste and irregular gaps.
Because effective noise control depends on complete, airtight sealing, Total Home Interiors recommends a professional assessment to ensure the right materials and installation approach for lasting soundproofing performance.
Conclusion
Acoustic caulk is one of the most affordable upgrades in a professional soundproofing project, yet it’s often overlooked. Small gaps around floors, ceilings, corners, baseboards, and electrical outlets allow noise to pass through even well-built walls. Sealing those openings with acoustic caulk helps reduce sound leakage and supports the performance of higher-grade assemblies like acoustic drywall, decoupled wall systems, and other soundproofing materials. For deeper joints, backer rod helps create a more durable seal. When applied correctly as part of a larger noise-control strategy, this simple step can make a noticeable difference in creating a quieter, more private interior.